
What is it?#
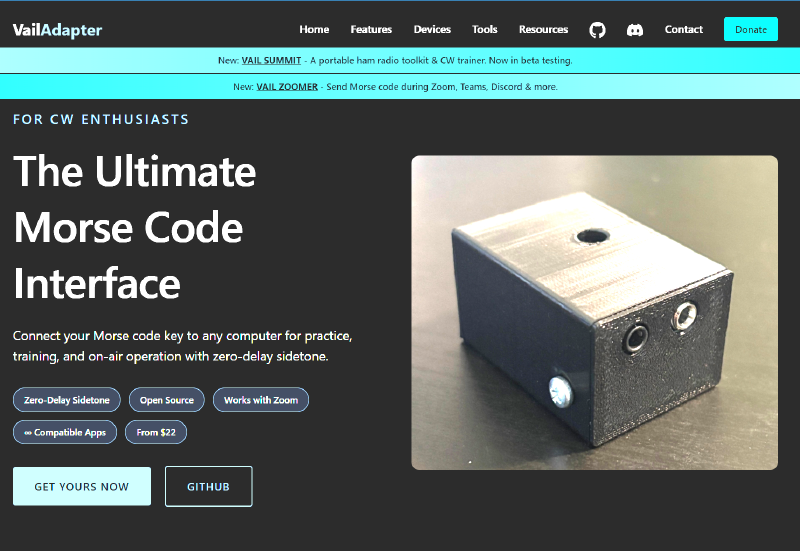
Vail Zoomer is a free, open-source application that merges CW sidetone from a Vail Adapter directly into your Zoom (or Teams, Discord, Meet) audio — no microphone required to carry your keying.
What can you do with Vail Zoomer?#
Your CW sidetone will sound dramatically better in a CW class than it does for students relying on their radio or an oscillator to generate their sidetones and a PC microphone to pick up the audio. Mic-based setups pick up ambient room noise and the volume is often too low for people on a Zoom call to hear — Vail Zoomer bypasses your microphone entirely and injects the tone straight into the Zoom audio channel.
The built-in decoder window shows what you’re actually sending in real time (with just a slight lag), so you’ll know whether you sent too many dits and sent an “H” instead of an “S.”
Keying speed, tone, and other settings are all adjustable on the fly from a clean, simple interface.
Pros#
- Dramatically cleaner sidetone than mic-based setups — no ambient room noise, much better volume and clarity
- Real-time decode window so you know exactly what you sent
- Adjust speed and tone on the fly, mid-session
- Free and open source
Cons#
- Some CW course advisors and students report latency issues. I’ve never personally experienced this, but it’s a common objection — don’t let it talk you out of trying it yourself. It’s changed my CW training sessions for the better.
- The audio settings Vail Zoomer needs are different from your normal PC audio setup, so you have to remember to reconfigure things before every Zoom call. Vail Zoomer’s setup wizard has good reminders built in, but keeping a note handy helps. An even better fix: set up a Stream Deck multi-action button that opens everything and adjusts your audio settings automatically, then restores everything and closes up when you’re done. Every ham shack should have a Stream Deck — a guide on building that button is coming soon.
Links#
Installation#
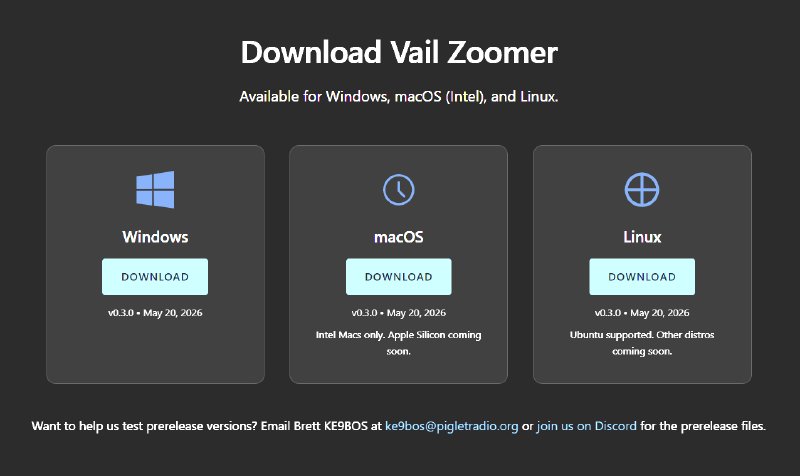
Vail Zoomer is available for Windows, macOS (Intel only — Apple Silicon support is coming), and Linux. This walkthrough covers Windows, since that’s what I run.
1. Download and install#
Head to the download page and grab
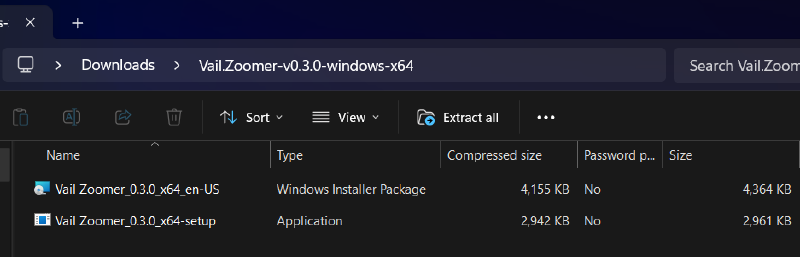
the Windows build. You’ll get two files — use the Windows Installer
Package (named something like Vail_Zoomer_0.3.0_x64_en-US at the
time of writing).
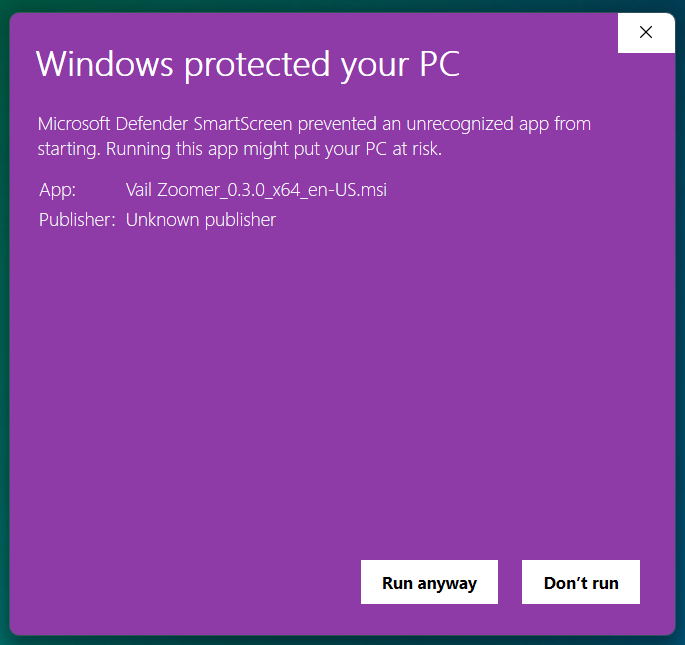
Windows SmartScreen will likely flag the installer as unrecognized. That’s expected for a small open-source tool without a paid code-signing certificate — click Run anyway.
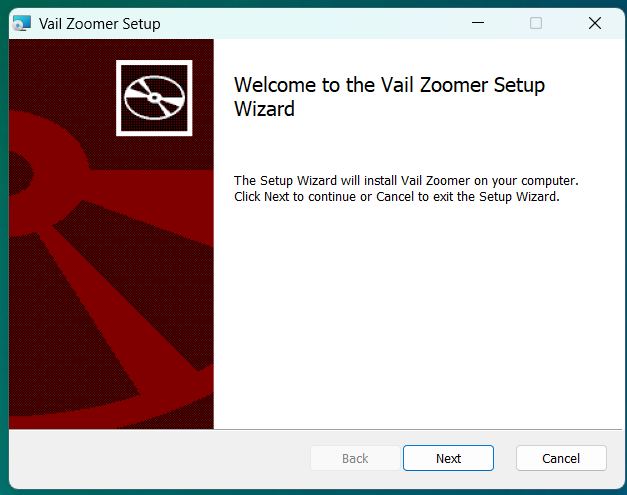
Run through the setup wizard.
2. Connect your Vail Adapter (Step 1 of 4)#
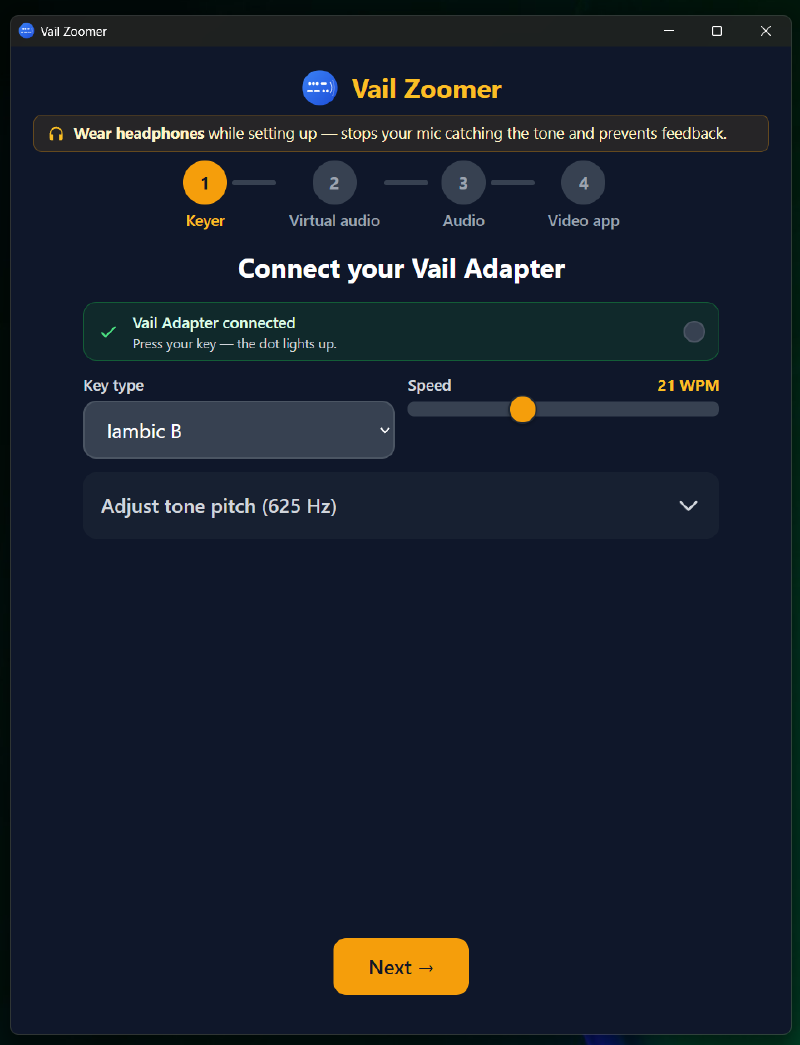
On first launch, Vail Zoomer walks you through a 4-step setup wizard. Step 1 confirms your Vail Adapter is connected — press your key and the dot should light up.
3. Install virtual audio (Step 2 of 4)#
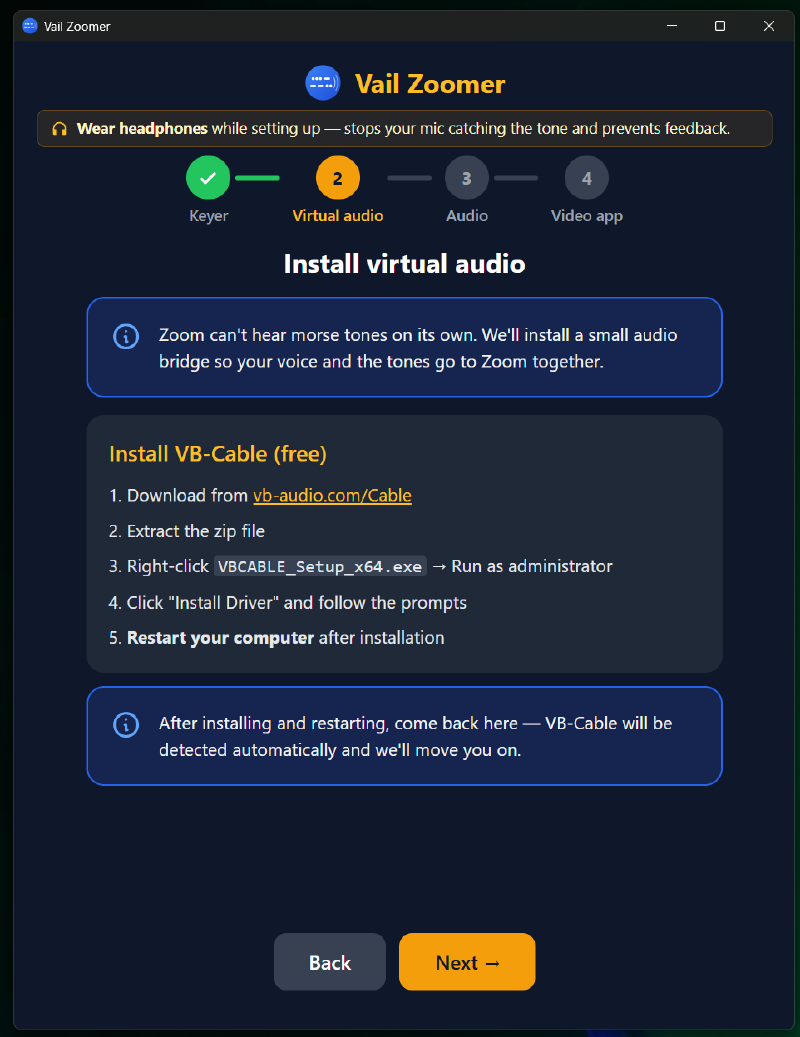
Zoom can’t hear Morse tones on its own — Vail Zoomer needs a small virtual audio bridge so your voice and the tones reach Zoom together. This step will prompt you to install VB-Cable, a free virtual audio driver.
Download VB-Cable from vb-audio.com/Cable.
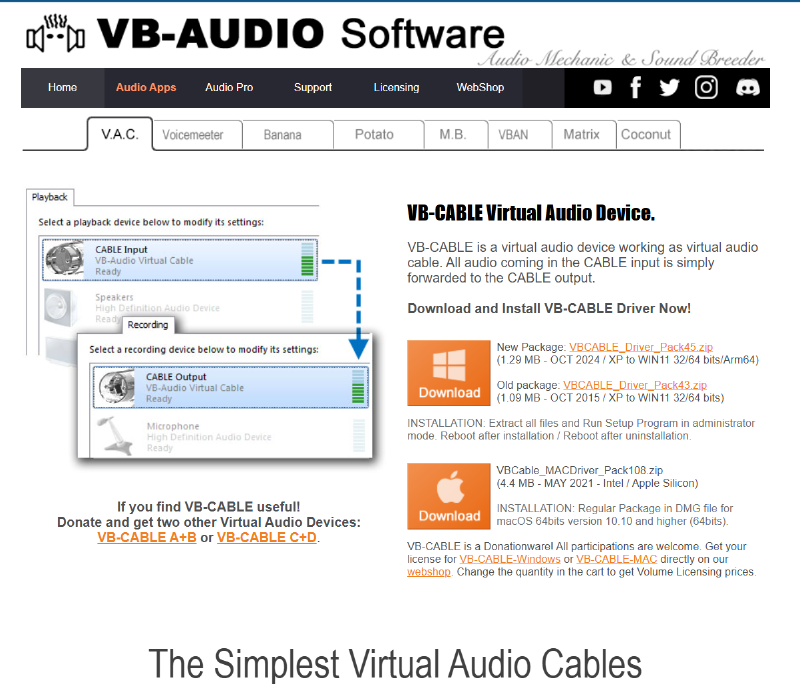
Extract the zip, right-click VBCABLE_Setup_x64.exe, and choose Run
as administrator, then click Install Driver.
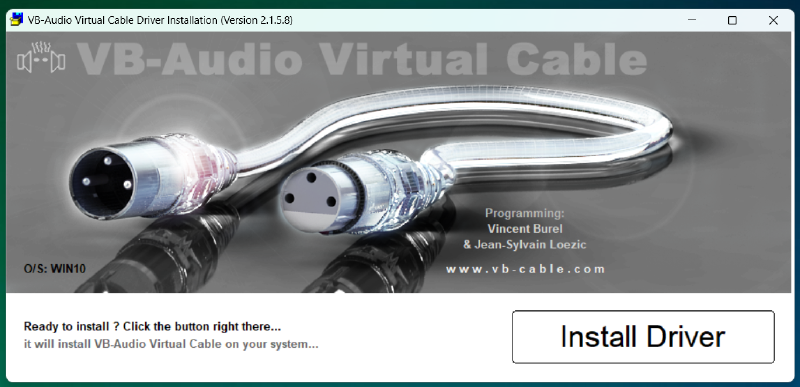
Windows will ask you to restart to apply the changes. Save anything open and restart.
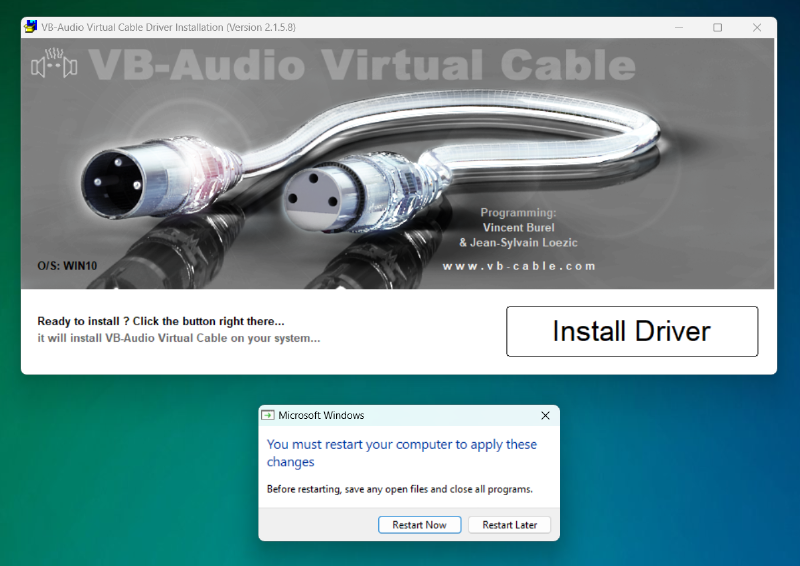
Once your PC restarts, reopen Vail Zoomer — it’ll detect VB-Cable automatically and pick up right where you left off.
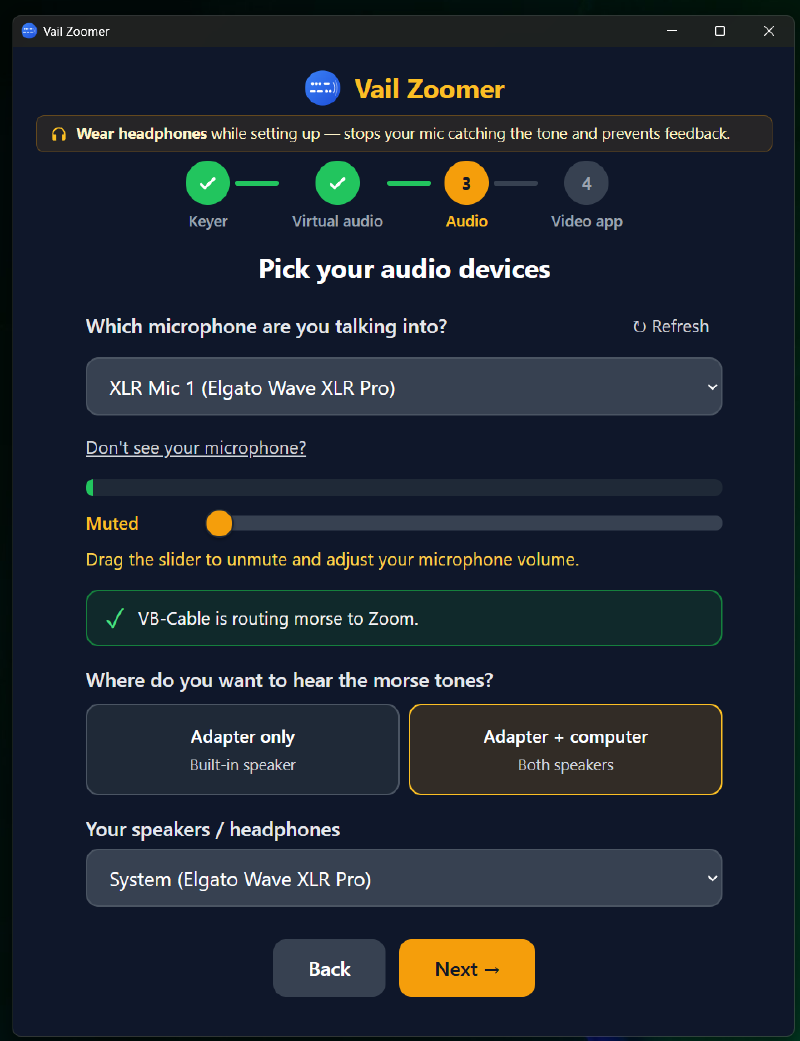
4. Pick your audio devices (Step 3 of 4)#
Choose the microphone you actually talk into (not VB-Cable — that’s handled automatically), and where you want to hear the Morse tones yourself while practicing.
5. Set up your video app (Step 4 of 4)#
This step gives you the exact settings to change inside Zoom itself. These matter — Zoom’s default audio processing is built to suppress background noise and irregular tones, which is exactly what a CW sidetone looks like to it if you don’t turn these off:
- Settings → Audio → Microphone: select
CABLE Output (VB-Audio Virtual Cable) - Turn off “Automatically adjust volume”
- Settings → Audio → Microphone modes: pick “Original sound for musicians”
- Turn off “High-fidelity music mode”
- Turn off noise suppression and echo cancellation
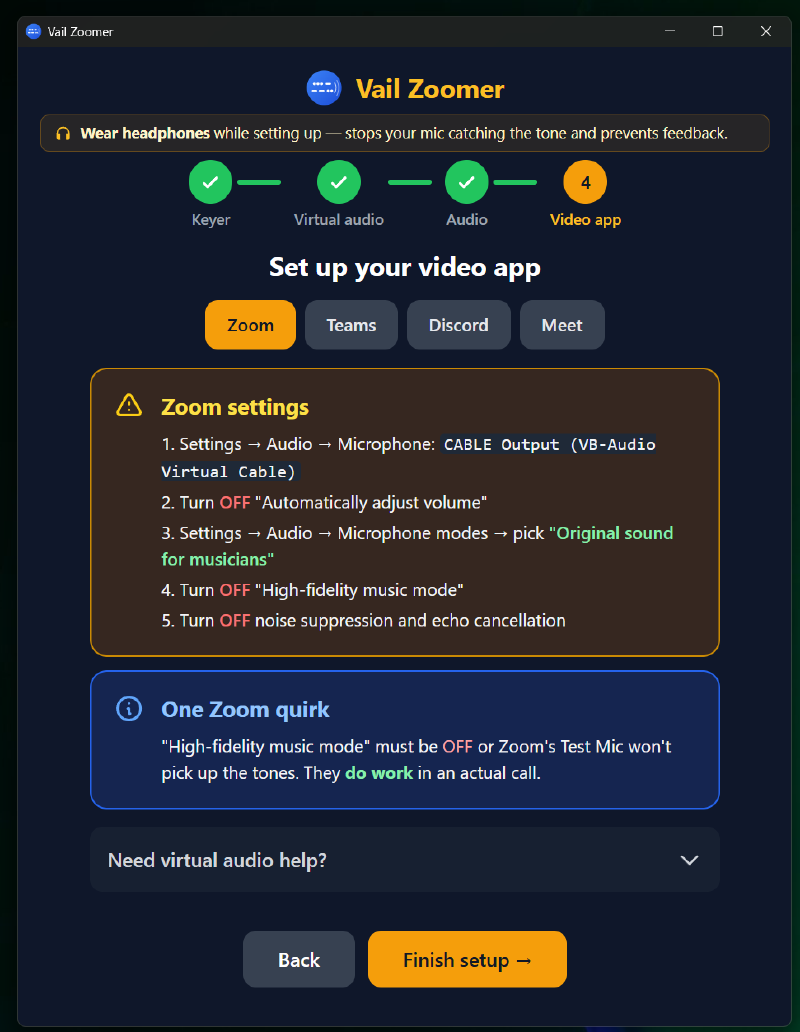
One quirk worth knowing: “High-fidelity music mode” has to be off or Zoom’s own mic test won’t pick up your tones — but they work fine once you’re actually in a call, even with it toggled differently.
6. You’re set up#
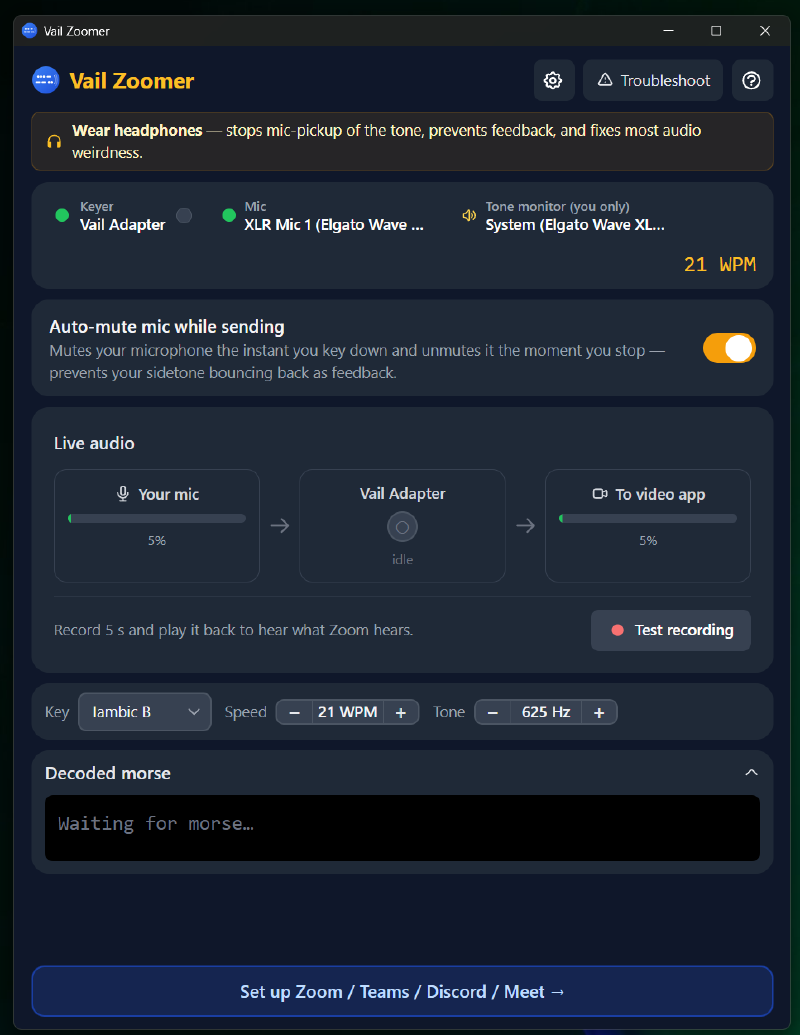
Once the wizard finishes, you land on the main Vail Zoomer window — your keyer, mic, and tone monitor at a glance, live audio meters, your key type/speed/tone settings, and the decoder feed at the bottom.
7. Double-check your PC’s audio settings#
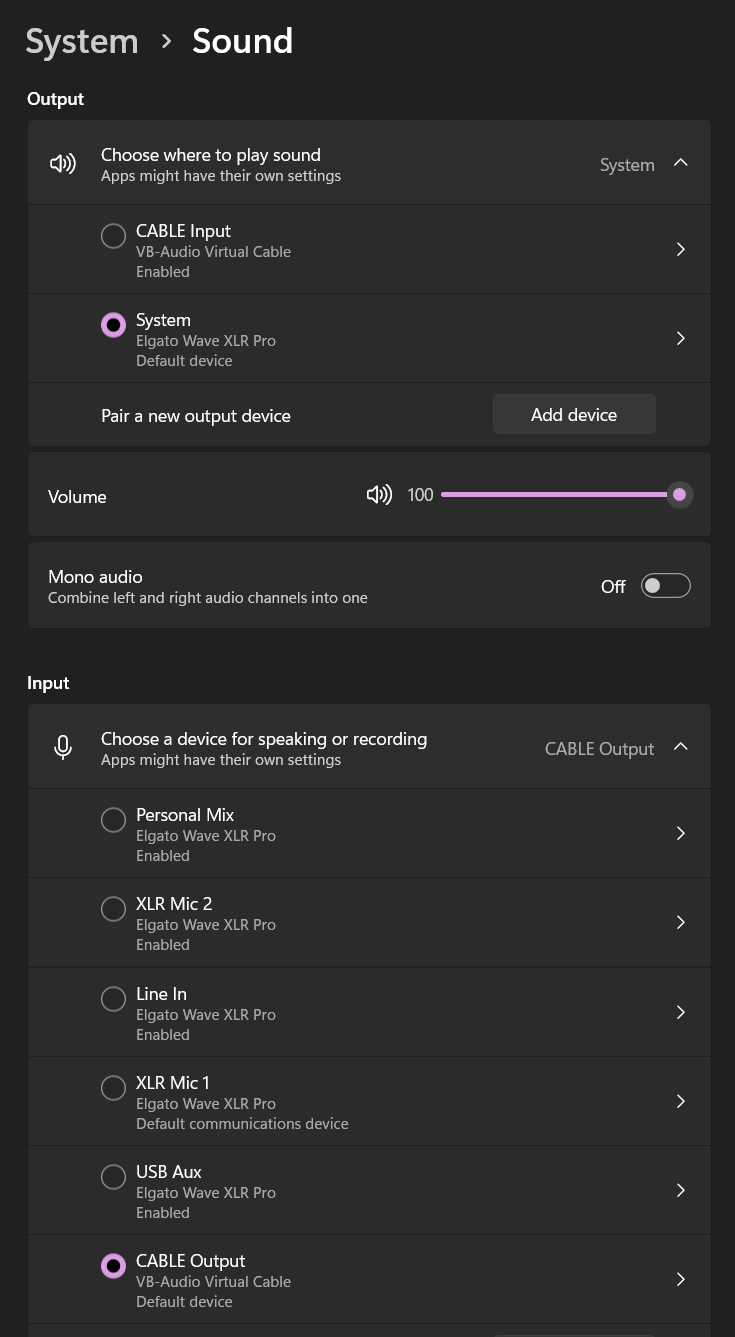
Before every call, it’s worth a quick glance at Windows’ Sound
settings — output should be your normal speakers/headset, and input
should be set to CABLE Output (VB-Audio Virtual Cable).
8. Confirm Zoom’s microphone selection#
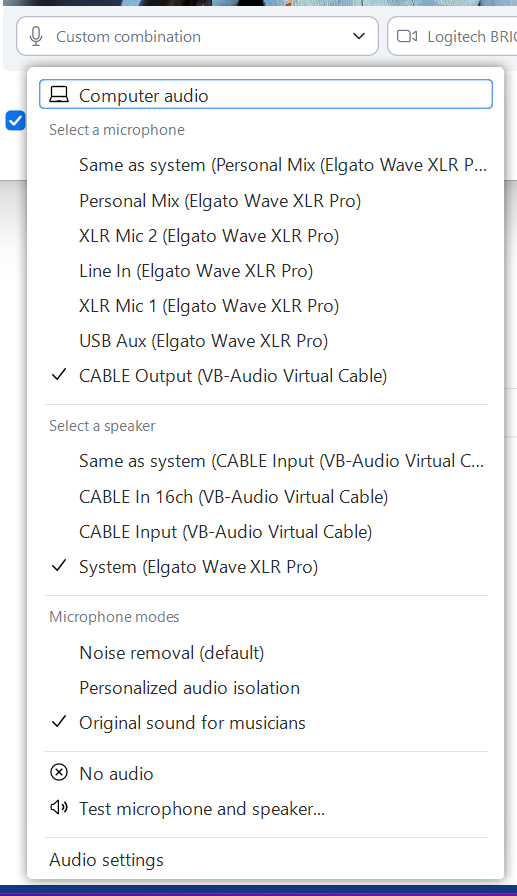
Inside Zoom itself, confirm your microphone is set to CABLE Output (VB-Audio Virtual Cable) and your microphone mode is set to “Original
sound for musicians” — this is the setting that stops Zoom from
treating your CW tone as noise to be filtered out.
That’s it — hop into your next CW class or practice session and your sidetone will come through clean, direct, and free of room noise, echoes and volume issues that plague mic-based setups.